

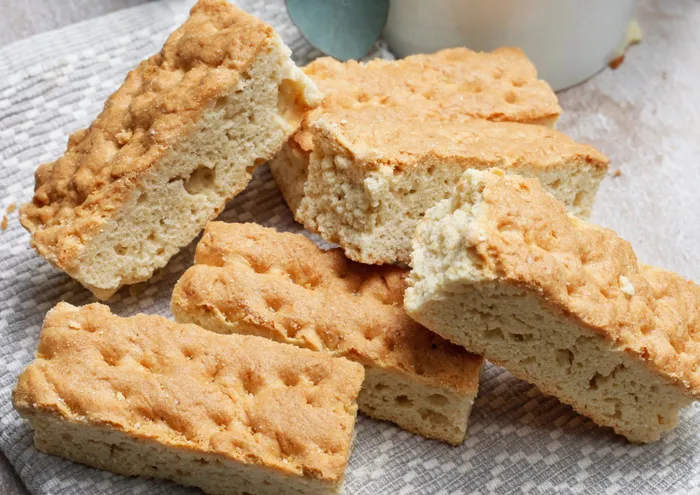
From classic buttermilk to bran, muesli and even choc-chip versions, there’s now plenty of variety on the shelves, but the traditional buttermilk rusk is still the one most people reach for first.
Image: File
Rusks are a familiar part of many South African homes, usually tucked away in the biscuit tin for when the kettle goes on.
They’re at their best when dunked into a strong cup of coffee or tea, softening just enough before that familiar crunch comes through again.
From classic buttermilk to bran, muesli and even choc-chip versions, there’s now plenty of variety on the shelves, but the traditional buttermilk rusk is still the one most people reach for first.
With grocery prices continuing to rise, everyday treats like this are becoming more expensive.
That’s where homemade rusks start to make sense. The ingredients are simple and affordable, and the method is straightforward, but the drying stage does take time.
The oven needs to stay on for several hours at a low temperature, so it’s worth being mindful of electricity use while they slowly dry out.
What you get in return is a generous batch of golden, crisp rusks that keep well for weeks and taste exactly like the kind many South Africans grew up with.
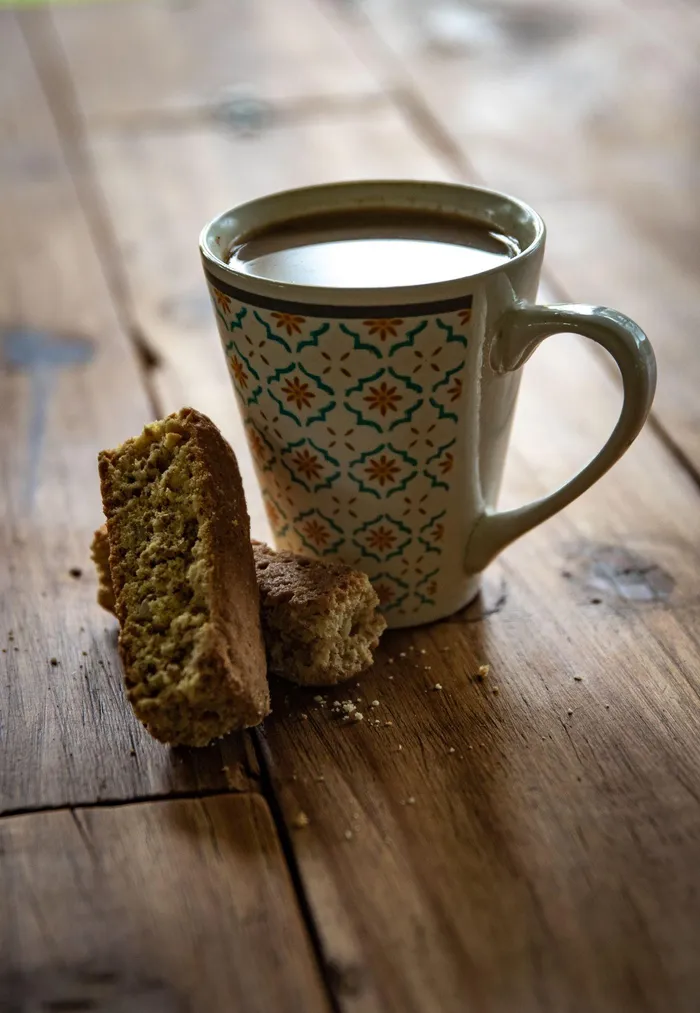
They’re at their best when dunked into a strong cup of coffee or tea, softening just enough before that familiar crunch comes through again.
Image: Magda Ehlers / Pexels
Ingredients
Method
The drying stage is where patience matters most. Low heat is what gives rusks their signature crunch, so rushing it will only leave you with a soft centre that doesn’t keep well.
If your oven has a fan function, it helps speed up moisture removal slightly without affecting texture. Leaving the oven door slightly ajar during the last hour can also help release trapped steam.
Once cooled properly, these rusks keep well for weeks, making them ideal for busy mornings when all you need is something quick to dunk into your coffee.